You want to host a website and don't want to spend much money. Yes it is possible, setup a web server with raspberry pi using word press to create a website for free. We have seen Setting up an Apache Web Server on a Raspberry Pi in the tutorial Raspberry Pi as Web Server . We will be extending it to add wordpress on raspberry pi and how to create a website for free.
How to create a wordpress website for beginners:
We will be learning how to create a website using wordpress and below are the step need to be followed to set up a LAMP Linux, Apache, MySQL, PHP stack on your Raspberry Pi and configure it to work as a web server.
Step 1: Set Up Apache Web Server
Step 2: Install PHP on Raspberry Pi.
Step 3: Install MySQL on Raspberry Pi.
Step 4: Download WordPress on Raspberry Pi.
Step 5: Configure MySQL and setup wordpress database.
Step 6: Configure WordPress
Components Required:
Raspberry Pi ( Zero or model B+)
A Micro USB Power supply
Micro SD Card ( Recommended 8 GB)
TV or Computer Monitor ( it is possible to setup raspberry pi without monitor , for now we will connect the pi to monitor)
HDMI cable
- Ethernet Cable ( If don't have wireless)
- Keyboard and Mouse
I would recommend Raspberry Pi 3 model B+, which is the latest Pi available in market & this is having good specifications as listed below for good raspberry pi web server performance.
First need to install raspbian operating system on raspberry pi and have it ready to install the web server.
Follow the tutorial Setup Raspberry Pi 3 for the details. Now lets work on how to setup Webserver on Raspberry Pi.
Apache is a popular web server application you can install on the Raspberry Pi to allow it to serve web pages.
On its own, Apache can serve HTML files over HTTP, and with additional modules can serve dynamic web pages using scripting languages such as PHP.
How to create a wordpress website with raspberry pi:
Step 1: Install apache on raspberry pi
First, update the available packages by typing the following command into the Terminal:
sudo apt-get updatesudo apt-get upgrade
Next install apache2 package with this command
sudo apt-get install apache2 -y

By default, Apache creates a test HTML file in the web folder /var/www/html/index.html. To test the web server enter http://localhost/ or the ip address of pi eg: http://192.168.1.xx in the web browser. You can run the ip address of pi eg: http://192.168.1.xx from another computer on the network.
The default web page either on the Pi or from another computer on the network when you browse to http://localhost/ or ip address of pi eg: http://192.168.1.xx will be as below.
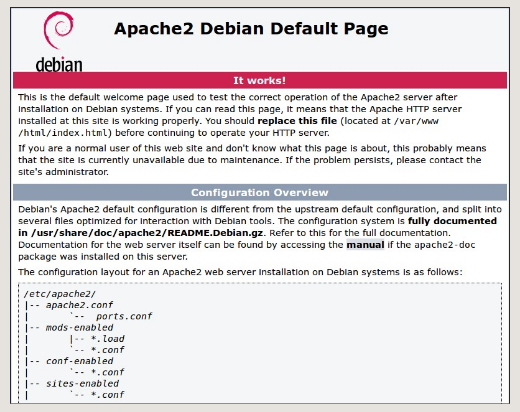
This means you have apache working! and your web server is ready.
You will also be able to open this web page from any other computer on your network using the IP address of your Raspberry Pi, e.g. http://192.168.x.xx.
To find out your Raspberry Pi’s IP address, type hostname -I into the terminal window. Your Raspberry Pi’s IP address is a really useful and will allow you to remotely access it.
Lets try to change the default web-page now we received to some content we would like to show in the web page.
The default web page HTML file is located at /var/www/html/.Navigate to this directory in a terminal window and have a look at what's inside
cd /var/www/html
ls -al
This will show you:
total 12


drwxr-xr-x 2 root root 4096 Jan 8 01:29 .


drwxr-xr-x 12 root root 4096 Jan 8 01:28 ..


-rw-r--r-- 1 root root 177 Jan 8 01:29 index.html
The default HTML file is called index.html and it is owned by the root user. In order to edit the file, you need to change its ownership to your own username using the below command.
sudo chown pi: index.html.
Pi is the default username. change it with your own if you have setup different user name.
You can edit this file using leafpad and make the changes in html page.
sudo leafpad index.html
If you make a change to the file, save it, and refresh the browser, you will see your change appear.
Step 2: Install PHP
Install the PHP package with the following command
sudo apt-get install php libapache2-mod-php -yTest php by removing index.html located at /var/www/html/and creating a php file.
sudo rm index.html
sudo leafpad index.php
Add some php content on the index.php file and save it.
<?php echo "hello world"; ?>
Now save and refresh your browser. You should see "hello world".
If you dont see “hello world”, reload and restart Apache like so:
sudo service apache2 restart
Step 3: Install MySQL
MySQL is a popular database engine. we will Install the MySQL Server and PHP-MySQL packages by entering the following commands.
sudo apt-get install mysql-server php-mysql -yNow restart Apache:
sudo service apache2 restartStep 4: Download and install WordPress on Raspberry Pi
You can download WordPress from wordpress.org using the wget command. The latest version of WordPress is always available at wordpress.org/latest.tar.gz
Change directory to /var/www/html/ and delete all the files in the folder.
cd /var/www/html/
sudo rm *

Download WordPress
sudo wget http://wordpress.org/latest.tar.gz
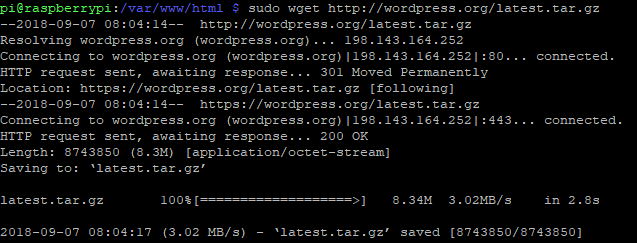
Download WordPress
Extract the WordPress .tar file to get at the WordPress files.
sudo tar xzf latest.tar.gzMove the contents of the extracted wordpress directory to the current directory.
sudo mv wordpress/* .
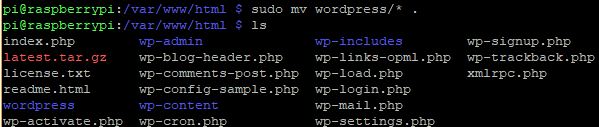
Running the ls command now will show you the contents of a WordPress .This is the source of a default WordPress installation.
Now change the ownership of all these files to the Apache user.
sudo chown -R www-data: .Step 5: Configure MySQL and setup wordpress database.
To get your wordPress site set up, you need a database, we are using Mysql/MariaDB for this.
Run the MySQL secure installation command.
sudo mysql_secure_installation
You will be asked Enter current password for root (enter for none): — press Enter.
Type in Y and press Enter to Set root password?.
Type in a password at the New password: prompt, and press Enter. Important:remember this root password, as you will need it later to set up WordPress.
Type in Y to Remove anonymous users.
Type in Y to Disallow root login remotely.
Type in Y to Remove test database and access to it.
Type in Y to Reload privilege tables now.
When complete, you will see the message All done! and Thanks for using MariaDB!.
Create the WordPress database
Run mysql using below command:
sudo mysql -uroot -pEnter the root password you created.
You will be greeted by the message Welcome to the MariaDB monitor.
Create the database for your WordPress installation at the MariaDB [(none)]> prompt using:
create database wordpress;Note the semi-colon ending the statement.
If this has been successful, you should see this:
Query OK, 1 row affected (0.00 sec)
Now grant database privileges to the root user. Note: you will need to enter your own password after IDENTIFIED BY.
GRANT ALL PRIVILEGES ON wordpress.* TO 'root'@'localhost' IDENTIFIED BY 'YOURPASSWORD';
For the changes to take effect, you need to flush the database privileges:
FLUSH PRIVILEGES;Exit the MariaDB prompt with Ctrl + D.
Reference: https://projects.raspberrypi.org/en/projects/lamp-web-server-with-wordpress/7
Step 6: Configure WordPress
We have downloaded word press and will see how to install wordpress on raspberry pi and configure now. Open the web browser on your Pi and goto http://localhost, you should see a WordPress page asking to pick your language.
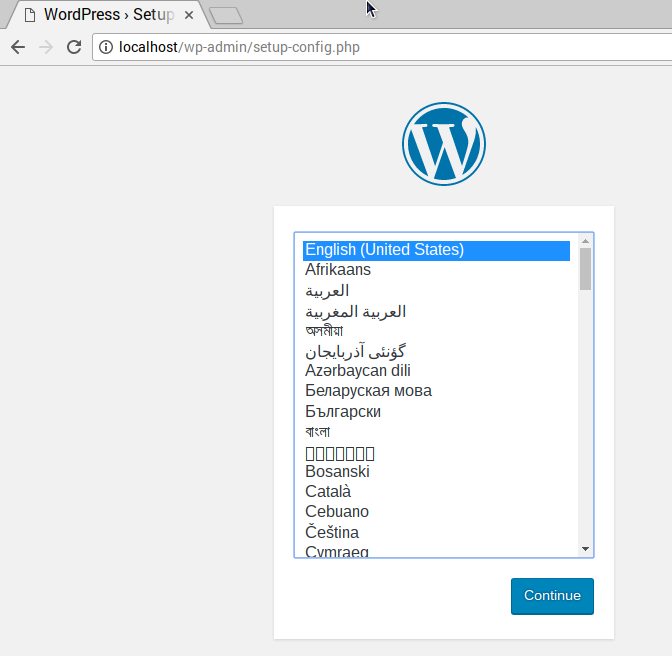
Select your language and click Continue.
Next the WordPress welcome screen will be displayed.

Click on the Let’s go! button and fill out the basic site information as follows:
Database Name:      wordpress
User Name:          root
Password:           <YOUR PASSWORD>
Database Host:      localhost
Table Prefix:       wp_
Click Submit to proceed and Click the Run the install button.

Fill out the information: give your site a title, create a username and password, and enter your email address. Hit the Install WordPress button, then log in using the account you just created.
Now you have completed the site set up, you can see the website by visiting http://localhost/wp-admin
Thanks for the wonderful and easy documentation from https://projects.raspberrypi.org/en/projects/lamp-web-server-with-wordpress.
As part of this tutorial you have seen how to host wordpress site on raspberry pi and I am sure you can just do it yourself now easy and quickly. Host your website, add pages, posts, try out new themes. As of now this website wi be accessible with in your home network however we can make if accessible using pubic IP of your network . We wi do it in the next tutorial.