In this post I will cover all the things which you need to know to setup your Raspberry Pi to make it ready for your Internet of Things projects.
We will be using Raspberry Pi 3 model B+, which is the latest Pi available in market & this is having good specifications as listed below
- Quad Core 1.2GHz Broadcom BCM2837 64bit CPU
- 1GB RAM
- BCM43438 wireless LAN and Bluetooth Low Energy (BLE) on board
- 100 Base Ethernet
- 40-pin extended GPIO
- 4 USB 2 ports
- 4 Pole stereo output and composite video port
- Full size HDMI
- CSI camera port for connecting a Raspberry Pi camera
- DSI display port for connecting a Raspberry Pi touchscreen display
- Micro SD port for loading your operating system and storing data
- Upgraded switched Micro USB power source up to 2.5A
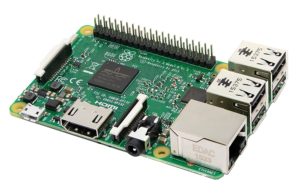
Raspberry Pi 3 Model B+
There are lot of version of Operating system available to install in Pi, however we will use NOOBS (New Out Of Box Software). There are 2 ways NOOBS can be installed & we will go through them step by step.
You do have Raspberry Pi , What else you need to start the installation?
- A Micro USB Power supply
- Micro SD Card ( Recommended 8 GB)
- TV or Computer Monitor
- HDMI cable
- Ethernet Cable ( If don't have wireless)
Setting up the Memory Card
- Download the Operating system (NOOBS)
First step is to download NOOBS & have it ready in your PC.
Go to https://www.raspberrypi.org/downloads & you will be able to see multiple version of Operating system listed in the page.
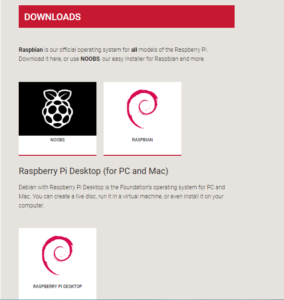
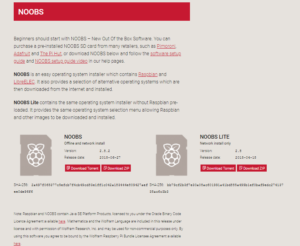
We will be using NOOBS for installation, click on NOOBS. In the next page you will have 2 options NOOBS & NOOBS LITE.
NOOBS is an easy operating system installer which contains Raspbian and LibreELEC. It also provides a selection of alternative operating systems which are then downloaded from the internet and installed.
NOOBS Lite contains the same operating system installer without Raspbian pre-loaded. It provides the same operating system selection menu allowing Raspbian and other images to be downloaded and installed
NOOBS
Click on download zip for NOOBS & NOOBS LITE. we will use both in this post however to install you don't need to download both. You can download only one of the OS & can follow the procedure respective to it.
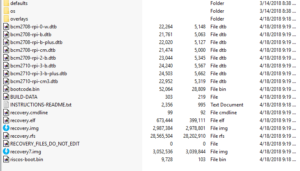
Once you downloaded the zip file, Right click & extract to the folder.
NOOBS will have files listed as below in the folder.
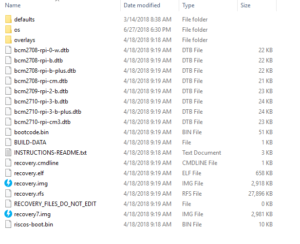
NOOBS
For NOOBS Lite
NOOBS LITE
- Format the SD Card
Before we copy the NOOBS to the SD card , it has to be formatted. Use the software SD Memory Card formatter to do the same. Download the Card Formatter from https://www.sdcard.org/downloads/formatter_4/index.html & install it on your PC. When you go to the download page , you can select download respective to your PC operating system, & then click on Agree in license agreement.
Go the downloaded folder & run the SDcardformatterXXXsetup.exe . Once the installation is completed you will be able to select the drive from the drop down to the SD Card drive letter. Make sure you are selecting the right drive letter when formatting. Use SD Card reader to insert Micro SD card & connect to the PC. Once you selected the drive letter correctly, click on format. We are ready now to copy the NOOBS to the SD card once the formatting is completed & start the OS installation.
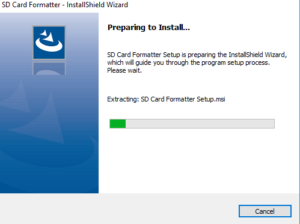
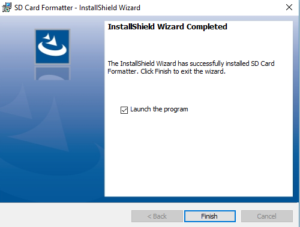
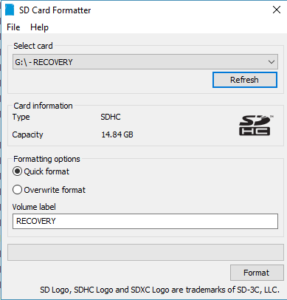
SD Card Formatter
- Copy the NOOBS file to SD Card
Now open the windows explorer copy the files from NOOBS or NOOBS LITE folder & paste the files in to the SD card. Once the files are copied eject the SD Card from PC.
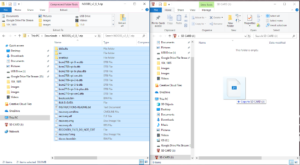
NOOBS Copying
- Insert the SD card with NOOBS copied in to the Raspberry Pi
- Connect the keyboard, Mouse & TV with HDMI cable to the Pi, connect the Pi to the powercable & power on the device. if you dont have wireless connection, connect the Pi to Ethernet cable from your internet modem or router.
Once you power on the Pi, you will be getting the LED light flashing & the screen on the monitor will be displaying booting screen. Since this is the first time you are booting the Pi with SD card, you will be prompted to select the OS to install. Select Raspbian (Recommended) & click on Install button on top , click on yes on the warning message.Wait till the installation is completed.
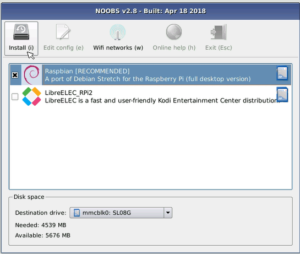
NOOBS boot Up screen
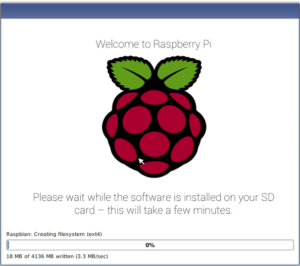
Installation Screen
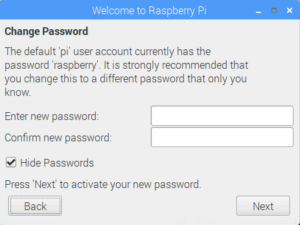
Once the installation is completed click on OK.
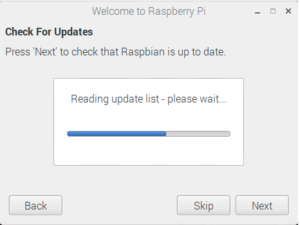
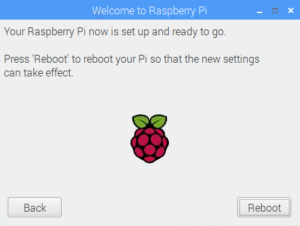
You will be taken in to the next screen where you need to reset the password for Pi, by default all raspberry comes with host name as Pi & password as raspberry. For security reason you need to modify the password which is recommended. Once you have changed the password ( Make sure you note this down some where) , you will be given option to select location, keyboard settings & connect to WiFi. Connect to the WiFi entering the password for your WiFi, Raspberry will look for the updates & will start downloading the updates from internet. This may take some time depending upon your internet speed. Once the download & installation of updates completed, click on reboot prompt & the Raspberry pi will be booted in to the desktop.

Pi Desktop
Wow!. its great, you have installed OS & your PI is ready now. You can check the Python installed in the PI by clicking on the Button on top left corner & going to the applications. We will be using python programs to run our projects. Wish you all the best to start your IoT projects. Will meet in next posts.
10 comments