This tutorial is the start of my Arduino based home automation's, we have seen IoT projects using Raspberry Pi in my previous articles. We have also seen the comparison between Raspberry Pi and Arduino, now let see the arduino basics to get make our self prepared for Arduino based projects.
Lets start with what is Arduino?
Arduino is an open-source electronics platform based on easy-to-use hardware and software. Arduino boards are able to read inputs from sensors, other devices and use them to control components like lights , motors, LED, TV etc. Arduino is mainly developed for prototyping , however Arduino is a great and powerful devices for IoT beginners to start their Arduino projects home automation.
In this Arduino basics we will be covering the hardware specifications, What is Arduino IDE which is used for Arduino programming. This article is for absolute beginners and will be the building blocks for Arduino programming basics.
Arduino Hardware Specifications:
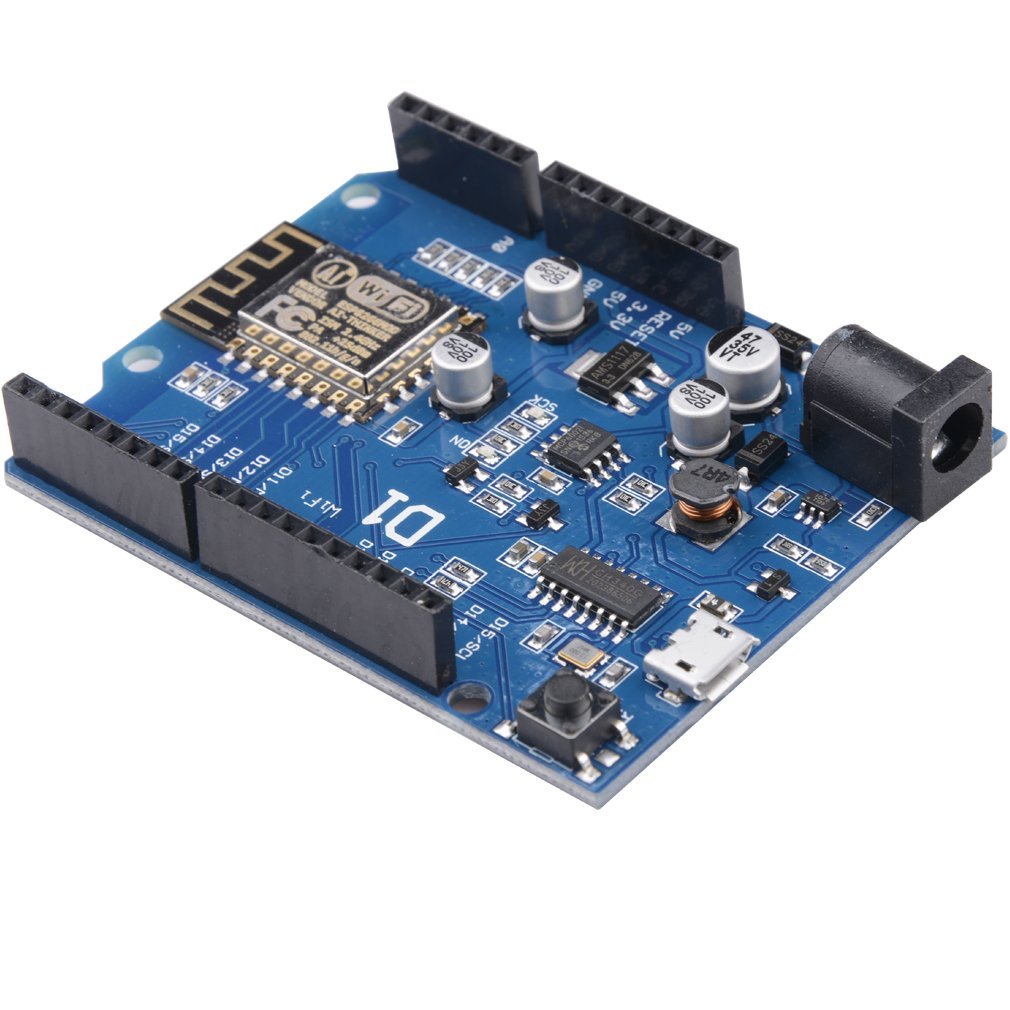
Arduino boards comes in different models and different specifications. Not like Raspberry pi Arduino boards doesnt comes with all features like WiFi, Bluetooth etc, If your board doesn't have the features you can purchase the shields and attach to the Arduino board. The shield acts like ad-dons which can be purchased as required and attach physically to the Arduino board.
Below are the common different Arduino boards available.
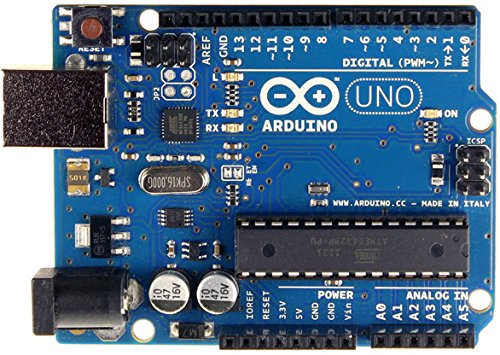
- Arduino Uno
- Arduino Leonardo
- Arduino Mega
- Arduino Nano
- Arduino Micro
- Arduino Yun
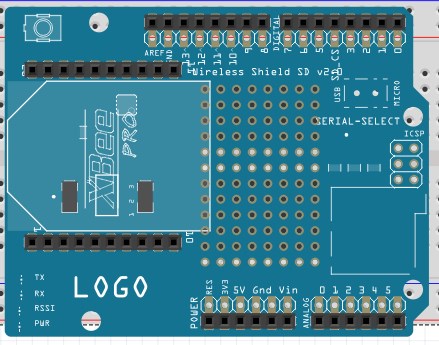
Some of the common Arduino shields are listed below
- Arduino Motor Shield
- Arduino Wireless Shield
- Arduino Ethernet Shield
- Arduino Photo Shield
- Arduino Relay Shield
The following will summarize the major parts of Arduino and how it will be used in Arduino example projects. We will also try to cover Arduino Uno pin diagram explanation.
1. Digital Pins
There are 14 digital pins in Arduino Uno. Digital pins can only be High or Low and they can be used as both Input and also as Output. Not like arduino analog input, High means there is current flowing and Low means no current flowing. Classical example arduino project is Turning On or Off LED light. Digital pin is set high to turn on the LED and Set low for Turn Off the LED.
2. Analog Pins
Arduino Uno have 6 analog pins. Analog pins value are not like Digital Pins , it can range from 0 to 1023. Classical example will be sensor data which can ranged depending upon the captured environment situation. The analog pins are from A0 to A5
3. Power and USB
Outside of normal power adapter to connected to wall socket, Arduino can also run on Battery power. USB connector allows you to connect to the PC and have the Code flashed to the Arduino board.
You can watch Arduino course online free on the Youtube Channel: https://www.youtube.com/channel/UCoOq-DtESvayx5yJE5H6-qQ?
Arduino Uno is an entry level board and this will be used for most of the Arduino programming tutorial and Arduino courses.

All Arduino boards are completely open-source, empowering users to build them independently and eventually adapt them to their particular needs. The software, too, is open-source, and it is growing through the contributions of users worldwide.The Arduino Software (IDE) allows you to write programs and upload them to your board.
Find the step-by-step instructions to Install the Arduino Desktop IDE select one of the following link accordingly to your operating system.
Arduino Uno doesn't comes with inbuilt Ethernet of WiFi, so you need to use the respective Shields to get the internet connectivity.
Arduino Software or Arduino IDE uses C- like Language for Programming. We will cover the arduino programming basics in another arduino programming tutorials article. You will be using Arduino IDE for writing code and uploading it in to the Arduino Boards.
Once Arduino IDE is installed and started , First page will look like below.
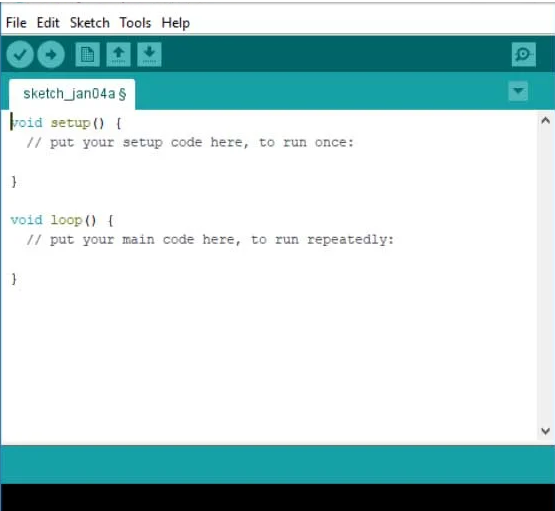
The Arduino programming have two section, the Setup and Loop. Setup section is the place to put the code for one time running like setting variables and Loop is the actual code which will be running continuously.
The Arduino IDE have the top toolbar and the major functions are listed below.
- Verify and Compile
- Upload
- New file or Open file or Save file
- Serial Monitor
For more IoT projects and Arduino tutorial youtube video checkout the channel : https://www.youtube.com/channel/UCoOq-DtESvayx5yJE5H6-qQ?
Setup Arduino App, make the connection to Arduino analog input or Arduino Digital input as per your project and upload the code. I hope with this tutorial you will be understand the Arduino architecture and applications needed to start your project.