In this post we will cover all the things for how to install windows 10 on raspberry pi 3.We have done multiple home projects like Lighting LED with Raspberry Pi & Python script , Lighting LED with Raspberry Pi & Cayenne , AC Light control with Raspberry Pi & Cayenne , Surveillance Camera & email notification on motion detection using Raspbian OS. We are going get started with windows 10 IoT core and get started with IoT with windows 10 IoT raspberry pi projects.

Before we start, What is Windows 10 IoT Core?
As per Microsoft definition , Windows 10 IoT Core is a version of Windows 10 that is optimized for smaller devices with or without a display that run on both ARM and x86/x64 devices. Windows 10 IoT Core is a version of Windows targeted towards small, embedded devices. You can use Windows 10 IoT Core to read sensor data, control actuators, connect to the cloud, create IoT applications, and more. With the parts included in the kit and instructions provided here, you'll be ready to make your first project.
We will be using Raspberry Pi 3 model B+, which is the latest Pi available in market & this is having good specifications as listed below for setting raspberry pi for windows.
- Quad Core 1.2GHz Broadcom BCM2837 64bit CPU
- 1GB RAM
- BCM43438 wireless LAN and Bluetooth Low Energy (BLE) on board
- 100 Base Ethernet
- 40-pin extended GPIO
- 4 USB 2 ports
- 4 Pole stereo output and composite video port
- Full size HDMI
- CSI camera port for connecting a Raspberry Pi camera
- DSI display port for connecting a Raspberry Pi touchscreen display
- Micro SD port for loading your operating system and storing data
- Upgraded switched Micro USB power source up to 2.5A
Components needed:
- A Micro USB Power supply
- Micro SD Card ( Recommended 8 GB or above)
- TV or Computer Monitor
- HDMI cable
- Ethernet Cable ( If don't have wireless)
How to install IoT core on Raspberry Pi:
Microsoft have its own too Windows 10 IoT Core Dashboard which simplify the installation of windows 10 IoT raspberry pi 3 b+. The Windows 10 IoT Core Dashboard makes flashing Windows 10 IoT Core onto your device simpler with a navigable interface.
Follow the below step to install windows IoT on raspberry pi 3, this easy install of IoT core on raspberry pi compared to other tutorials of using ISO fie and this is as per Microsoft documentation.
- Go to https://docs.microsoft.com/en-us/windows/iot-core/downloads and download Windows 10 IoT Core Dashboard .
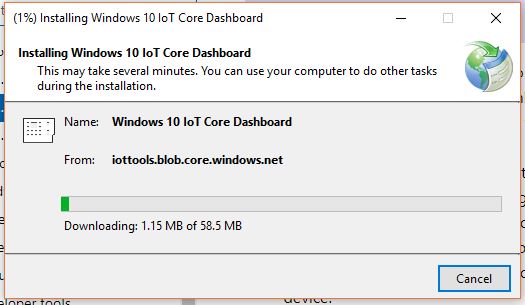
- Double click on setup.exe and click on install

- Wait for the installation to complete
- Open IoT Dashboard and Click on setup a new device

- You will be asked to sign in to Microsoft account, you can do that or you can skip the step.

- Select the below details in the next screen
- Device Type : Raspberry Pi 2 & 3 ( if you are using other boards you can choose accordingly)
- OS Buid : Windows 10 IoT Core
- Drive : Select the drive letter respective for your SD Card.
- Device Name : Give a device name
- Administrator Password : Set the password
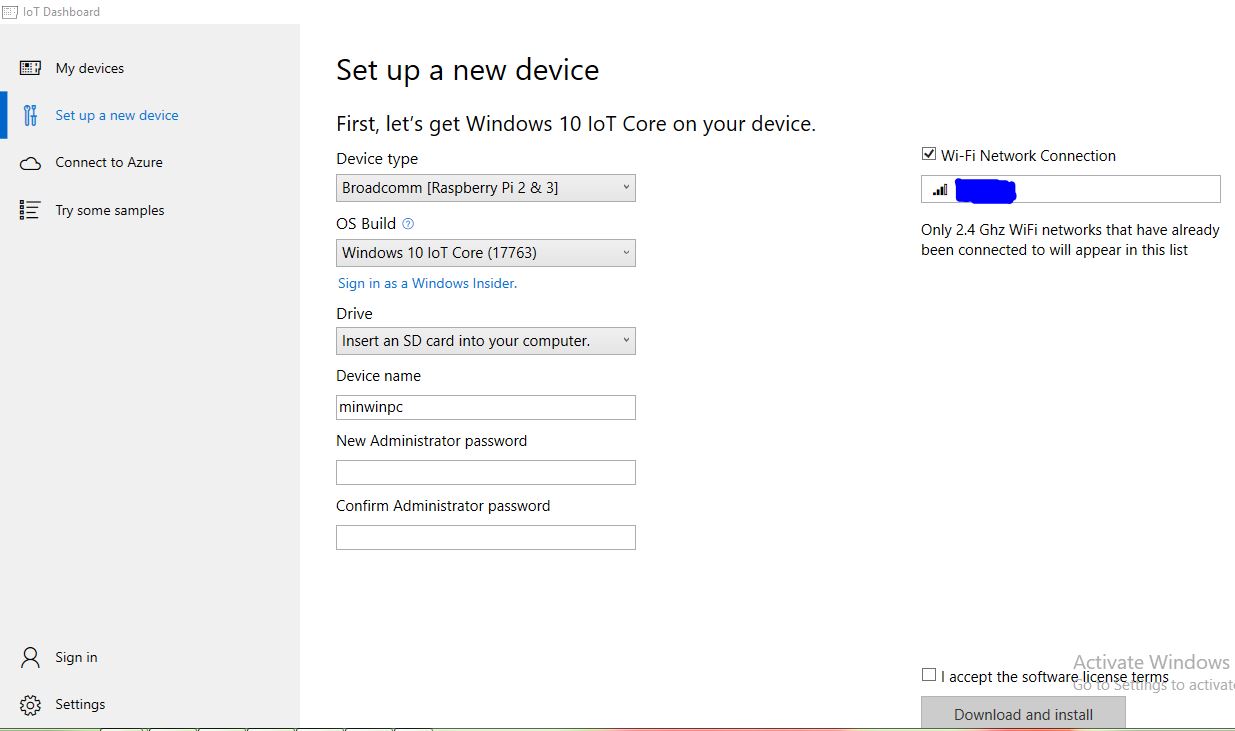
- Accept the license terms and click on Download and Install.
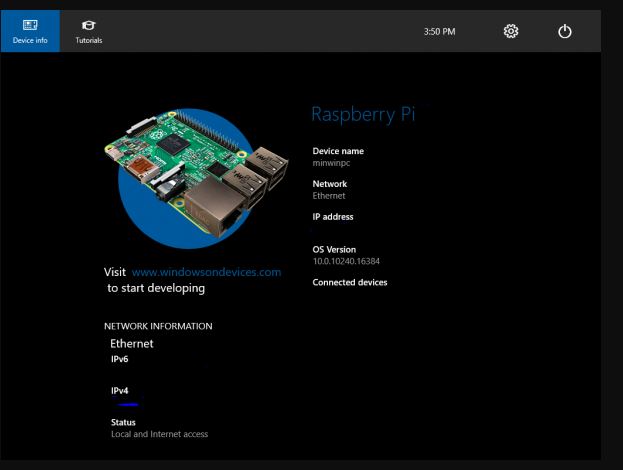
It will take some time for windows 10 IoT download and install in SD Card. Once the installation is competed , remove the SD Card from PC and insert to the Raspberry Pi. Turn on the device to setup raspberry pi Windows. Windows 10 IoT free to download from Microsoft site. We are now getting started with windows 10 IoT core for raspberry pi 3, and you are in Desktop screen of IoT core for raspberry pi 3. You will see the device details and network details. Once the installation is competed you can connect your Raspberry Pi through IoT Core Dashboard on your PC.

Now we have windows IoT core raspberry pi 3 and we are ready for windows 10 iot raspberry pi projects. I hope this windows 10 IoT core tutorial is useful for you. If you are interested in difference of Windows IoT core vs Raspbian, I will try to cover this in coming posts related to Windows IoT core tutorial.