When I started my IoT projects , one of the challenge was to build a IoT platform or use an existing IoT platform which can be used to monitor, control, manage your sensors & devices. Even though there are enterprise IoT platforms available, I have found mydevices Cayenne or Cayenne powered by myDevices is one of the best open source tools which gives very good features to run IoT projects.
"MyDevices" Cayenne is the world’s first drag and drop IoT project builder that empowers developers, designers and engineers to quickly prototype and share their connected device projects. Cayenne was designed to help users create Internet of Things prototypes and then bring them to production. Cayenne app is available in both mobile platform Android, IOS and also you can access Cayenne through web browser.
Lets start our work to setup Cayenne for Raspberry Pi . In this article we will cover how you install Cayenne to Raspberry to connect through Mobile app & Web browser to have it ready to control an LED & other sensors.
MyDevices Cayenne is an open source IoT Platform which is used as IoT Project builder that allows you to control Raspberry Pi & other sensors, relays, actuators connected to your Pi through graphical interface.
Main features of Cayenne:
Widget: A variety of widget are available & parameters can be customized by the user.Add remotely controlled sensors, actuators, relay,GPIO Pins etc.
Customizable dashboard & Visualization : Cayenne stores historical data that enables you to see meaningful patterns of behavior to help understand and guide improvements on your IoT projects and the devices and sensors connected & is easily customizable.
Drag-and-drop widgets: Cayenne uses widgets to visualize devices, their data, status and actions. Every device, sensor and actuator that gets added in Cayenne has one or more widgets associated depending on the hardware capabilities. Widgets are added to the Device list on the left hand side and to each device’s Dashboard.
Triggers: Create tiggers with threshold that can send email alerts.
Easy setup: Cayenne is easily integrated with Pi & installation is simple.
Sign Up to Cayenne:
To install Cayenne what you need is a Raspberry Pi or Arduino ( We will be focusing on Raspberry Pi in this article), Pi should be installed with Rasbian or NOOBS Operating system. If you not have done that yet, kindly refer the article how to install noobs on raspberry pi 3. The Raspberry Pi should be connected to Internet through Ethernet cable or through WiFi.With Cayenne I have to admit that DIY (Do it yourself) raspberry pi projects home automation complexity is simplified.
First create an account in mydevices.com. Go https://mydevices.com/ and click on Sign Up Free, Enter the First, Last name , Email address & password, agree the terms and click on get started free. you can also sign up through Mobile app. Go to play store and install Cayenne App ( App Store or Playstore), signup through the Cayenne app.

Cayenne Sign up page
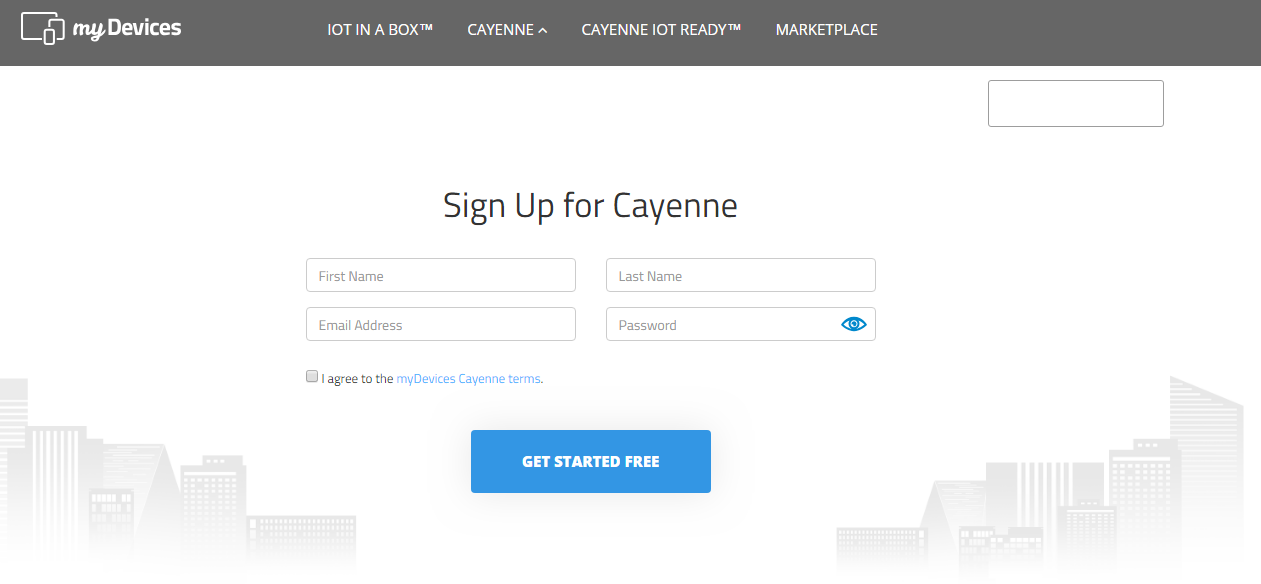
Register for Cayenne mydevices
Install Cayenne through commands or Mobile app:
Once you login to Cayenne , you will not see any devices because we have not connected our raspberry Pi to the Cayenne dashboard. The easiest way to do this is through Mobile app.
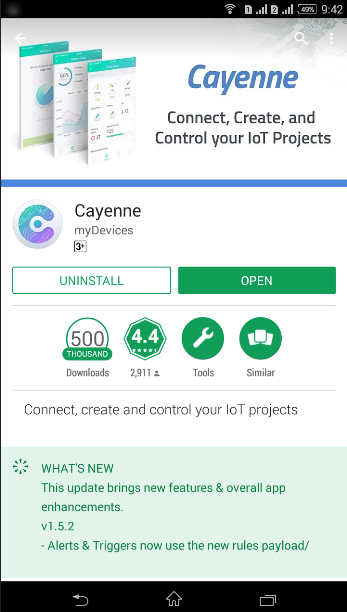
Cayenne Google Playstore App
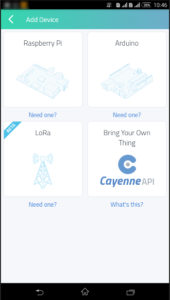
Once you login to the Mobile application, go to my devices & click on the Plus icon on the top right corner -> Add device .This will list you the devices which can be connect & select Raspberry Pi. Since our Raspberry Pi is already connected to WiFi, click on Search for devices.
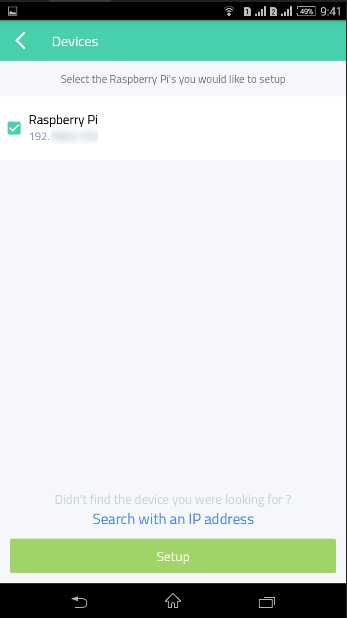
Our cayenne raspberry pi is listed and click on it which will prompt you to enter Pi username & password . By default it is pi & raspberry however for security we have already changed this when we setup our Raspberry Pi with NOOBS. Enter the same and click on done.
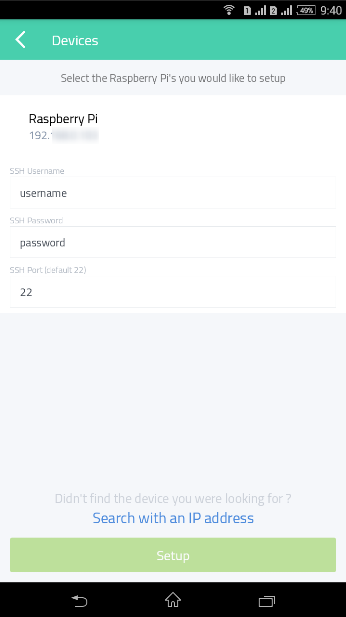
Pi user name & password
Now you can select the Pi & click on Setup , which will start the installation & will take 5 to 10 min to complete the installation. The Raspberry will be rebooted & Cayenne dashboard will be available with basic information of the devices like CPU usage, memory usage etc.
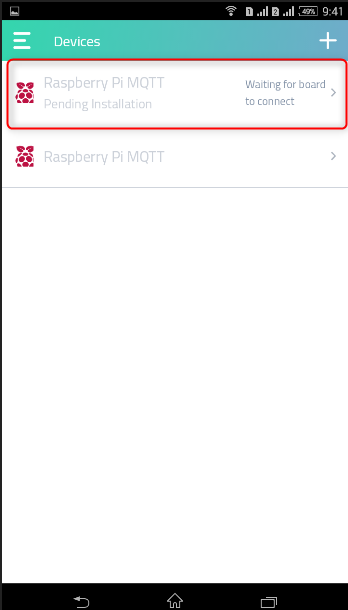
Cayenne Installation
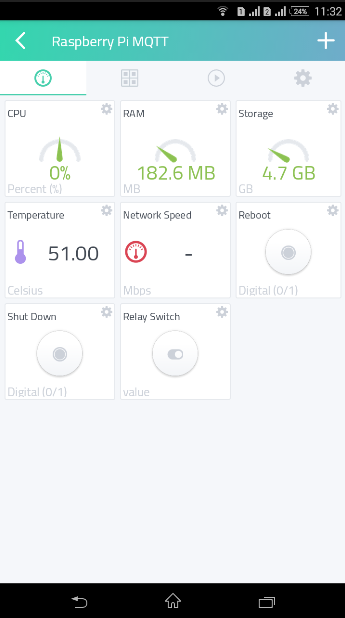
Cayenne dashboard
Manual installation method on Raspberry Pi:
To install directly from Rasberry Pi, Connect to you Pi through SSH or open Terminal from Pi, enter the below commands.
wget https://cayenne.mydevices.com/dl/rpi_fqljxbqthj.sh
sudo bash rpi_fqljxbqthj.sh -v
This will take some time, Pi will be rebooted. You can login to the web brower and see the Cayenne dashboard.
Cayenne Dashboard & configuration:
We are now ready with Cayenne dashboard and ready for cayenne iot project build. However before we proceed, let us see what are the features available and how we can add our sensors & create tiggers in Cayenne IoT.
Widgets: go to add devices & select the respective device you want to add. We are going to add a Relay module, so go to actuators & select Relay.

Add widgets in Cayenne
In the next screen select the Raspberry Pi ( if you have more than one Raspberry Pi configured in Cayenne select the right device in which you are using the Relay) , Connectivity to Integrated GPIO, Channel should be selected to the right Pin number to which you are connecting the device and choose what type of button to control the action. Click on add actuator and you are done. its as simple as that, you can add in the similar way other devices as required.
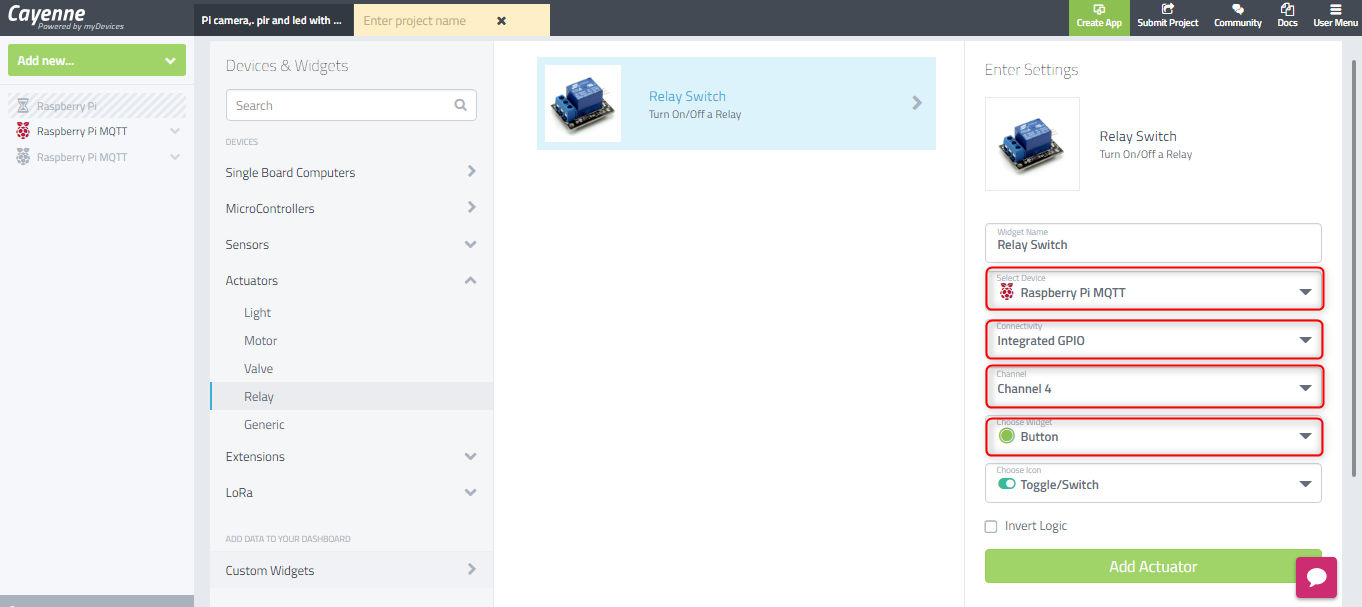
Relay configuration
Now if you have all physical devices also configured to the pins defined in Cayenne, when you toggle the switch in Cayenne dashboard the Relay will switch On and Off accordingly.
Configure Trigger:
We can also setup triggers in Cayenne which have two section If an then part. If decide the condition on which what action to need to be that is defined in then part:
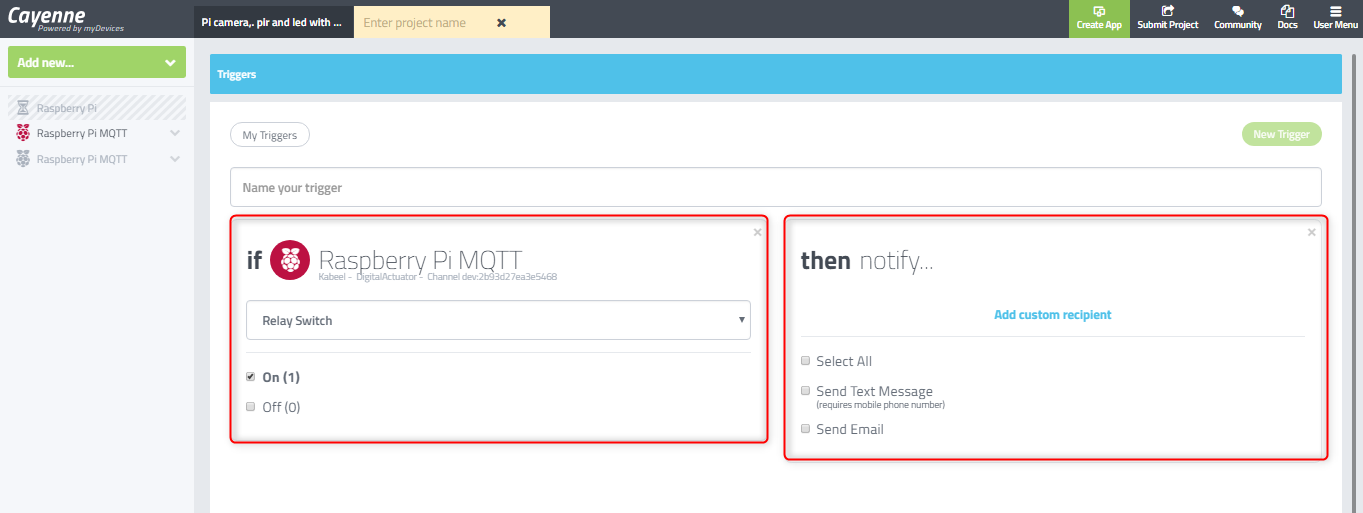
Cayenne triggerGo to add new and select Trigger, give a specific name for the trigger. Drag the Raspberry Pi device to the If box and select the sensor , actuators which is configured on which you need to create the trigger. In this case we selected Relay . Next part is then, we have options to setup notifications or setup webhook. Click on Setup notification and you have options to send text message, send email . This is really a great feature in Cayenne and really useful.
I hope you all had a good understanding on Cayenne & how to setup for our cayenne raspberry pi projects. One of the question asked to me is that Cayenne is not free and what is cayenne mydevices pricing? . I would like to re-itrate that Cayenne is free for signup and I am not paying a penny at this point, I am not sure if they will change it in future. One of the words I saw from the post in http://linuxgizmos.com/free-iot-development-and-management-platform-adds-arduino/ is “As for pricing, the product will always be free to makers but we will be rolling out an Enterprise solution with pricing to be announced at that time,” wrote Bromber in an email. We see you in next posts on setting up projects using Cayenne devices.